How To Show a Facebook Photo Album as An Image Gallery Page on Shopify

Facebook is free and you can share unlimited photos and videos. And you can leverage Facebook to host an image gallery for your business. But Facebook does not allow you to share these images outside. Don’t worry! This article is for you. In this post, I will teach you how to show your Facebook photo albums as gallery pages on Shopify.
Please follow the steps below to know how to do that.
We will be using the Shopify app to help us. It’s called Hura Album.
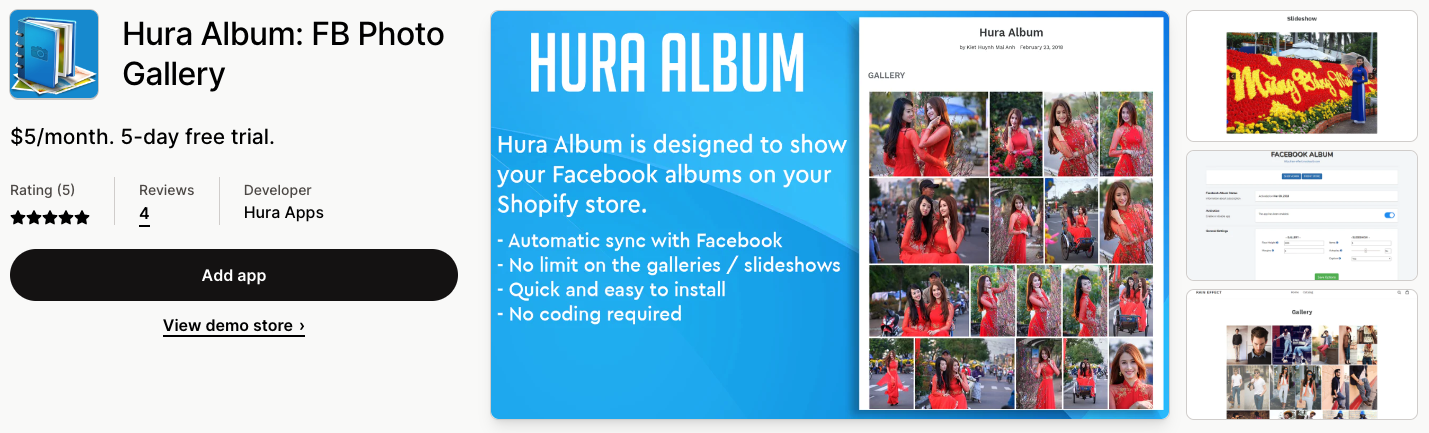
Hura Album is made to help you show your Facebook albums on your Shopify online store. You can show the album on a page as a gallery or slideshow, and you can show many albums on the same page. It works great for syncing all of your Facebook photos with your site. Photos are sent from Facebook to the browser of the person looking at them. So, you save hosting space, and the page loads quickly for the user. Also, it’s easier to keep track of your photos on Facebook.

After successful installation, you access the dashboard app.
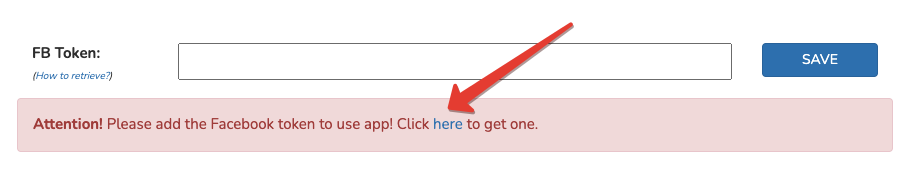
The app will inquire as to whether or not you have a Facebook token. If you do not already have a Facebook token, you can proceed with the process of creating one by clicking on the link that is provided by the app or going directly to the following address: https://fb.anhkiet.info.
Read more: How to retrieve a Facebook token?
After getting a Facebook token you must fill this value into the FB Token field and click the Save button beside it. If the Facebook Token is valid you will see all the Facebook Photo Albums listed below.
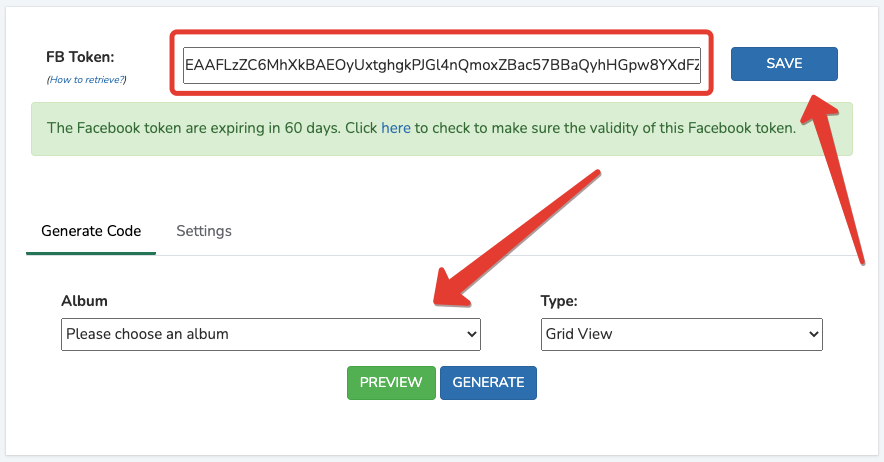
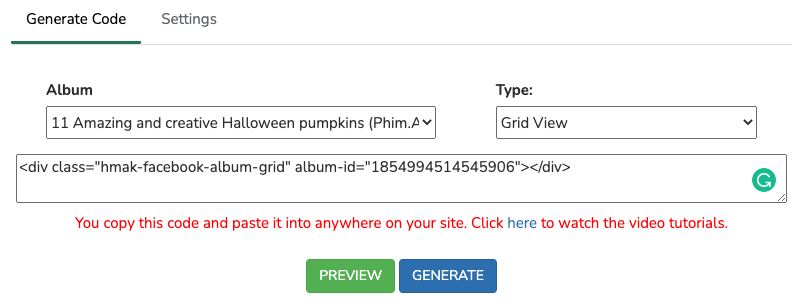
Now you just need to select the album you want to show and the display type, then click Generate button beside it to get the embed code. You can use this embed code to insert your Facebook Photo Album anywhere on your Shopify store.
You also click the Preview button to preview.
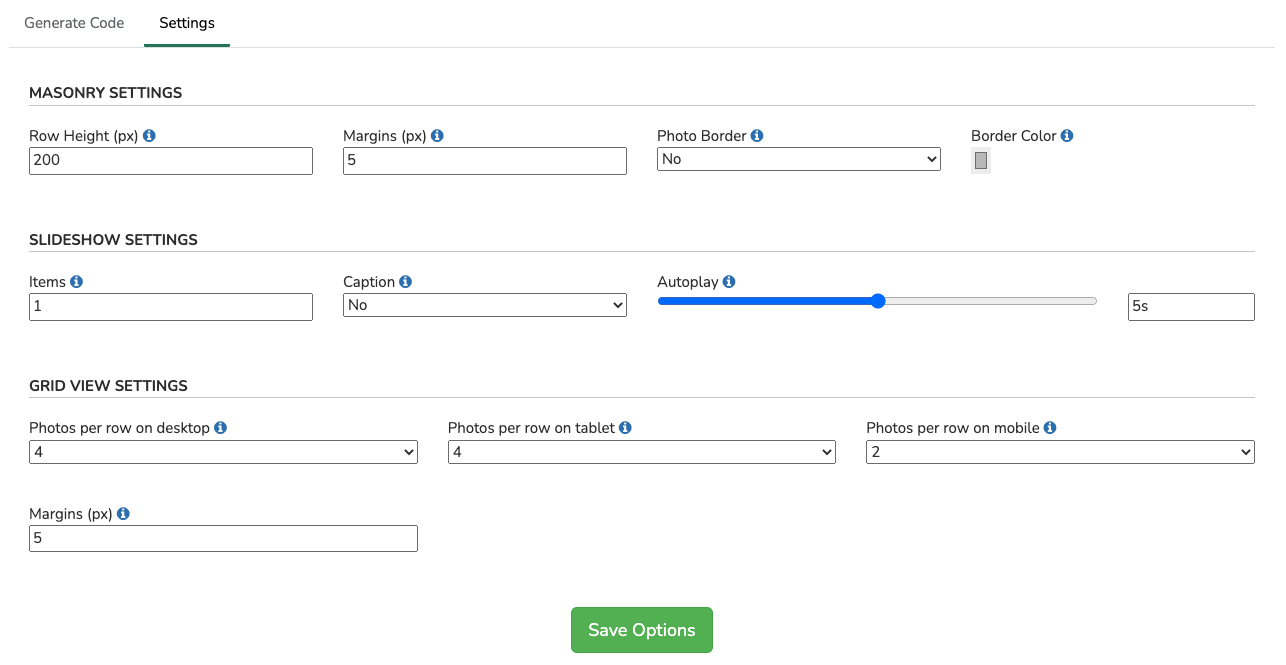
Additionally, the application allows you to modify certain parameters to better suit your requirements. To make any necessary adjustments, go to the Settings tab and then continue to config. In order to finally save, click the button labeled Save Options.
It is time to choose the photos that you want to share. Please read this post carefully and have a try. Hope this post helps you share your Facebook photos online easily.