How To Set Up “Sales Pop Master – Countdown” App To Your Shopify Store

I have written an article to introduce the best Countdown Timer Apps for Shopify. However, to integrate this app into your store you will have to go through the steps one after another, and for new users, this can seem quite complicated. To solve this problem for you, I will guide in the most detail the process of downloading and activating the Sales Pop Master – Countdown application. Let’s get started.

To download the application, first, log in to your account to Shopify Apps Store, search for Sales Pop Master ‑ Countdown application, click Add App, after the app permission window appears, click the icon Install App icon. The application download will be completed shortly.
In the Sales Pop Settings section, there are 4 sections you need to customize: Sales Pop Type, Highlight Products, Style & Theme, and Display Settings.
Step 1: Set up Sales pop type
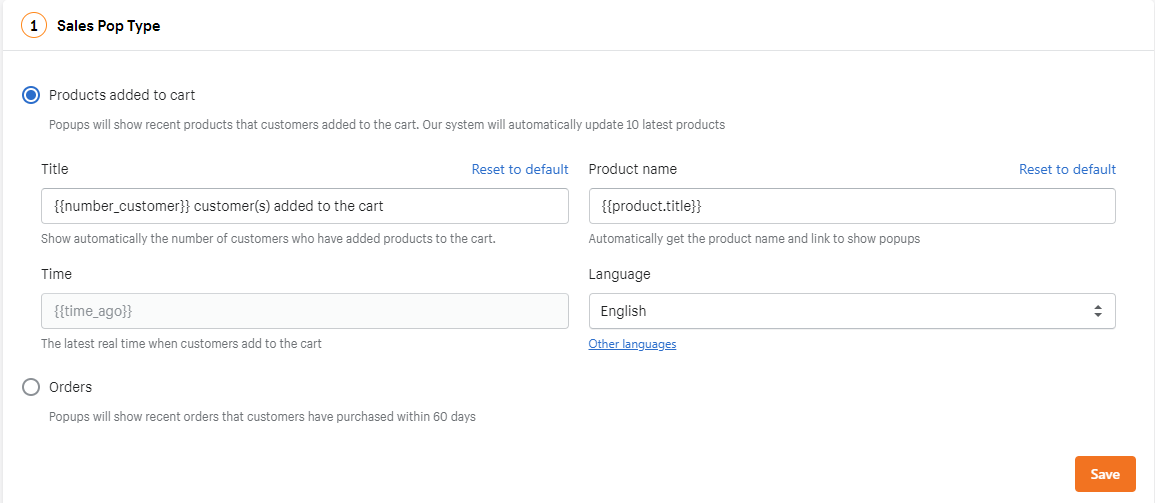
Choose Products added to cart or Orders type.
- If you choose Products added to cart type, popups will show recent products that customers added to the cart. The system will automatically update the 10 latest products. With the custom design, you can edit some items such as theme, title, product name, and language. Don’t edit variable {{location}}, {{product.title}}, and {{customer.first_name}} because they will automatically pick up location, product name and customer name to display notifications. You can change the language in the popup. There are 9 default languages. Click Other if you have another language. View detail is used to enter the text you want.
- If you choose Orders type, popups will show recent orders that customers have purchased within 60 days. With the custom design, you can edit some items such as theme, title, product name, and language. Don’t edit variable {{location}}, {{product.title}}, and {{customer.first_name}} because they will automatically pick up location, product name and customer name to display notifications.
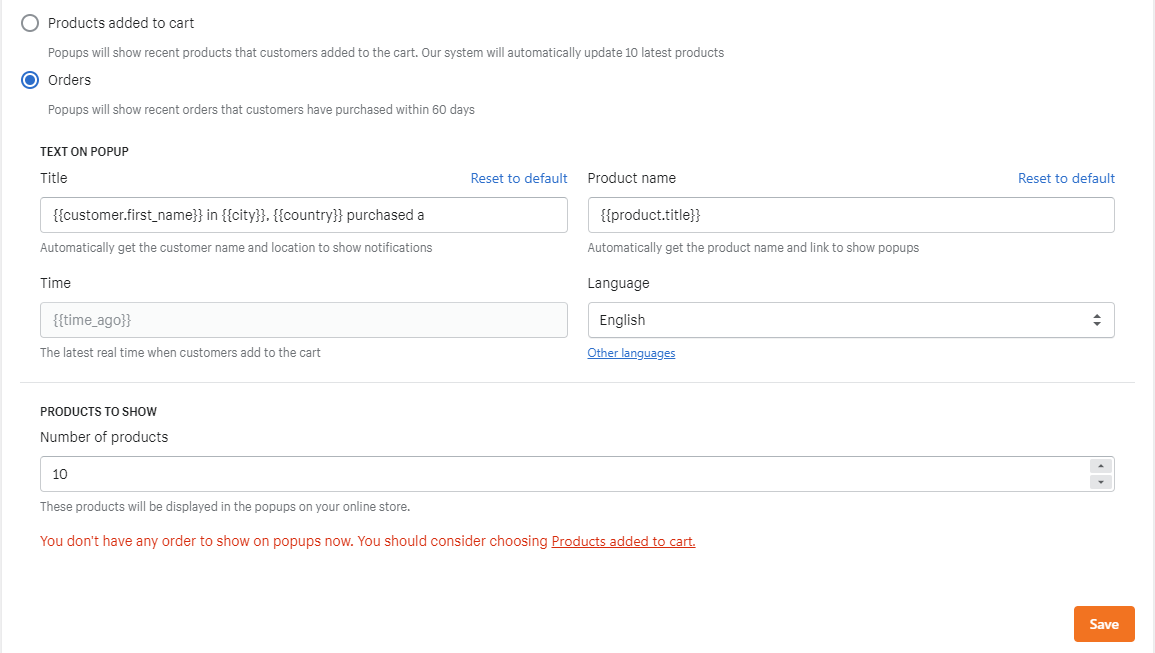
Sales Pop Master will display notifications from real customers’ orders with an unlimited number. Enter the number of real orders that you want to display on your online store. The display time of the popups will depend on the real-time when the customer orders on your store.
Step 2: Highlight Products
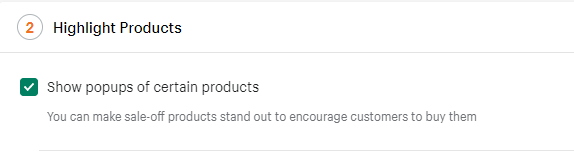
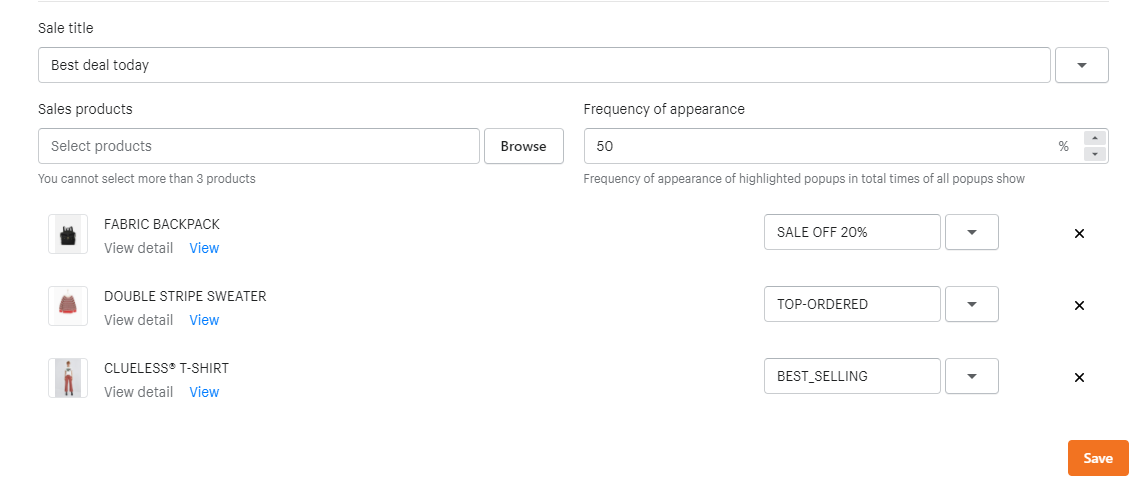
You can enable or disable the Highlight Products function:
- Enter a title for the popups
- Select no more than 3 products


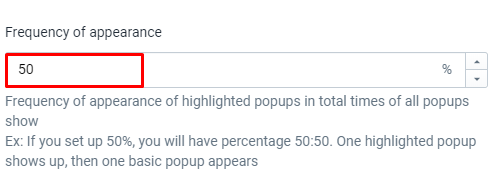
- Choose Frequency of appearance
- Frequency of appearance of highlighted popups in total times of all popups show
Ex: If you set up 50%, you will have a percentage of 50:50. One highlighted popup shows up, then one basic popup appears
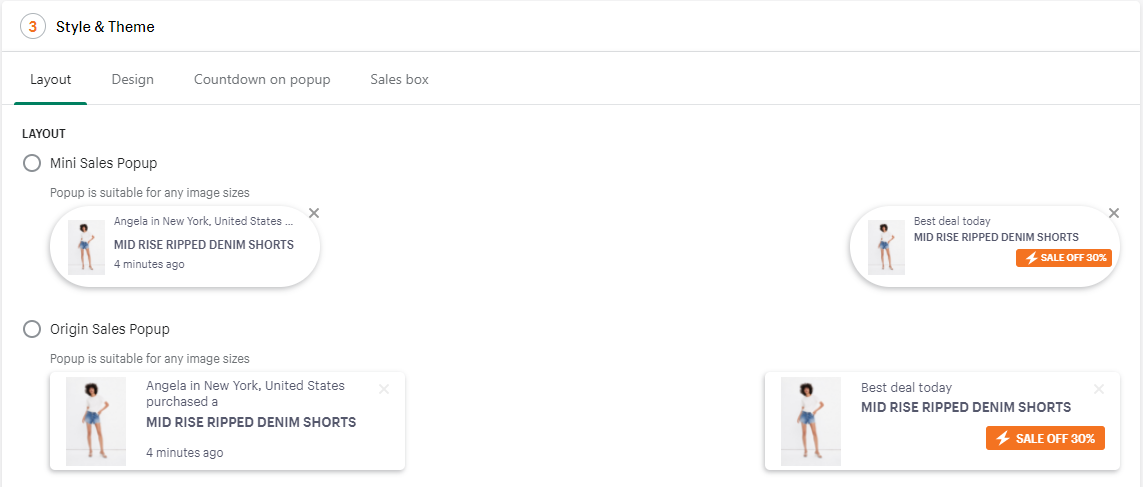
Step 3: Style & Theme
In Layout, choose Radius Sales Popup, Round Sales Pop, or Square Sales Popup and Custom layout. You choose a shape for the product image.
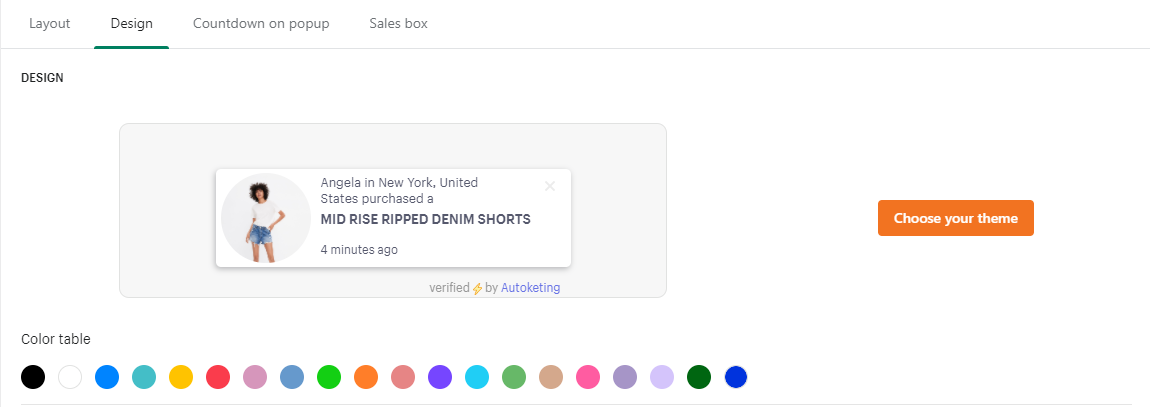
In the Design setting, you set up many details.
- You customize Title color, Background color, Product name color, Product name decoration, and Time color. You see your current changes in the preview.
- You can hide the close button or truncate the product name
- You can hide the close button or Show border: You can create a border for popups. There are two types of borders. Choose Dashed or Dotted style. Customize the border width and select a border color you like. The popups will look more professional in your store.
- Choose to Hide time ago and Truncate prod if you want. We have launched the Smart hide option. You can choose show time_ago for a certain time.
- Set up Countdown: Countdown Timer and Countdown Stock
- Set up Countdown Stock: Customize motivational text and text color. Set up the remaining quantity if you want.
- Click Save
Step 4: Display Settings
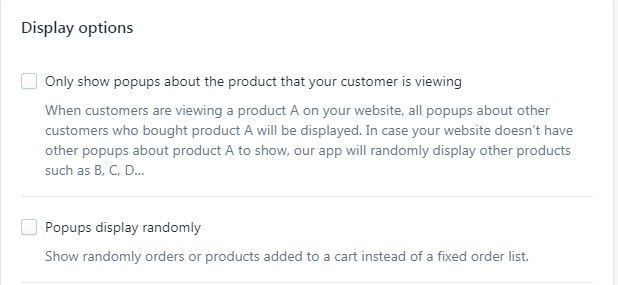
- Choose to show only popups about the product that your customer is viewing or display popups randomly
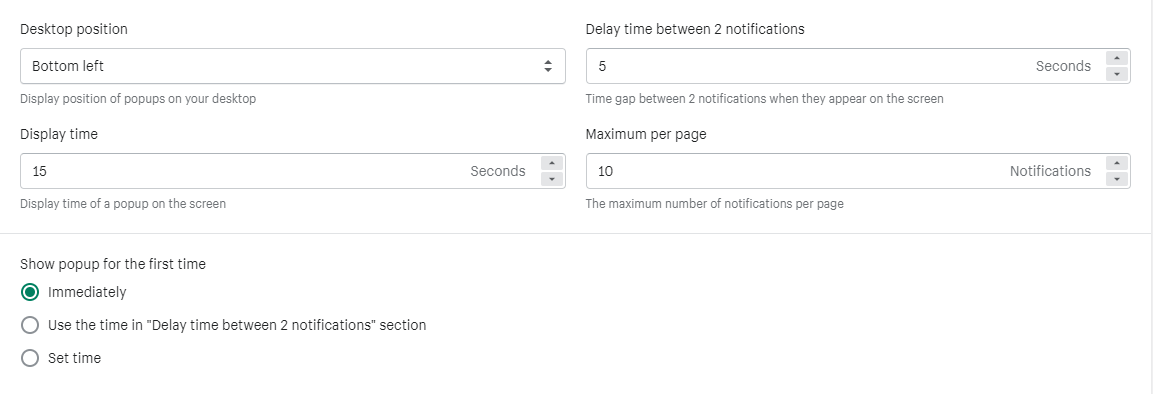
- Change display options such as desktop position, delay time between 2 notifications, display time, and maximum per page. Besides, you can also select some indicators such as timing for the first popup or show on mobile.
- Show on specific pages: You can choose to show popups on the cart pages or other specific pages. In the specific pages section, there are four options: Show on all pages of your website, Show on products pages including homepage, product pages, and product detail pages, Show on specific collection pages, Show on specific product pages.
- Choose to remove verified by Autoketing.
- Click Save
After completing the settings and saving the changes, the app should work fine on your store.