How To Sell On Facebook Shop Using Shopify Lite

Facebook Shop is your online storefront where people can browse, explore and purchase your products directly on Facebook. With customizable collections and simple design tools, you can showcase featured products, bring your brand to life and make shopping seamless for your customers.
Shopify Lite is a Shopify plan for merchants who are looking to sell in-person or add a buy button to their existing website. With Shopify Lite, you get features to view reports, issue gift cards, and split bills, among others. You can’t build an online store with Shopify Lite.
Each platform has its own strengths and weaknesses. So we can combine them together to help you save costs and sell better. If they are combined, you can sell an unlimited number of products and get regular sales reports. It supports more than 70 payment gateways, global taxes, and different types of currency. You can also manage orders and shipping via the Shopify dashboard.
This article will guide you on how to launch a Facebook Shop using Shopify Lite.
It’s really nothing complicated about the process.
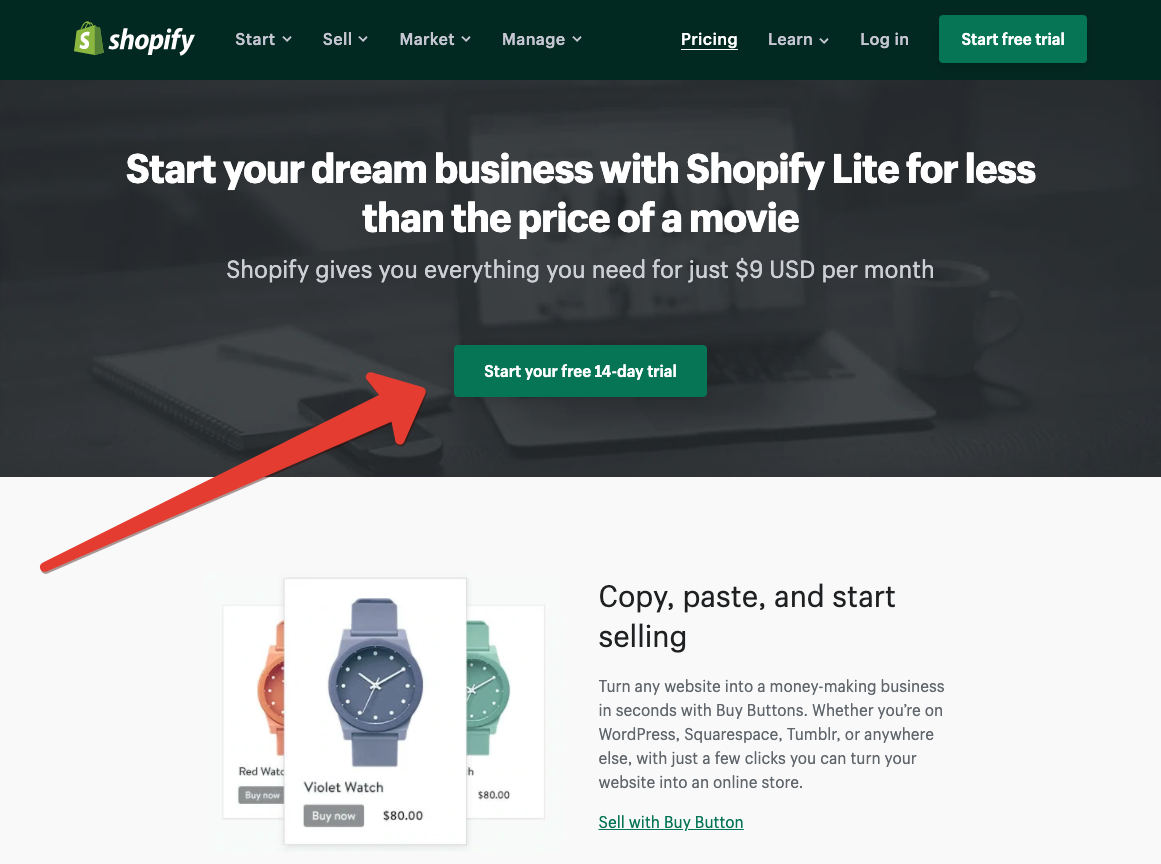
First of all, go to the Shopify page, click on the “Start your free 14-day trial” button to get yourself a Shopify Lite Plan.
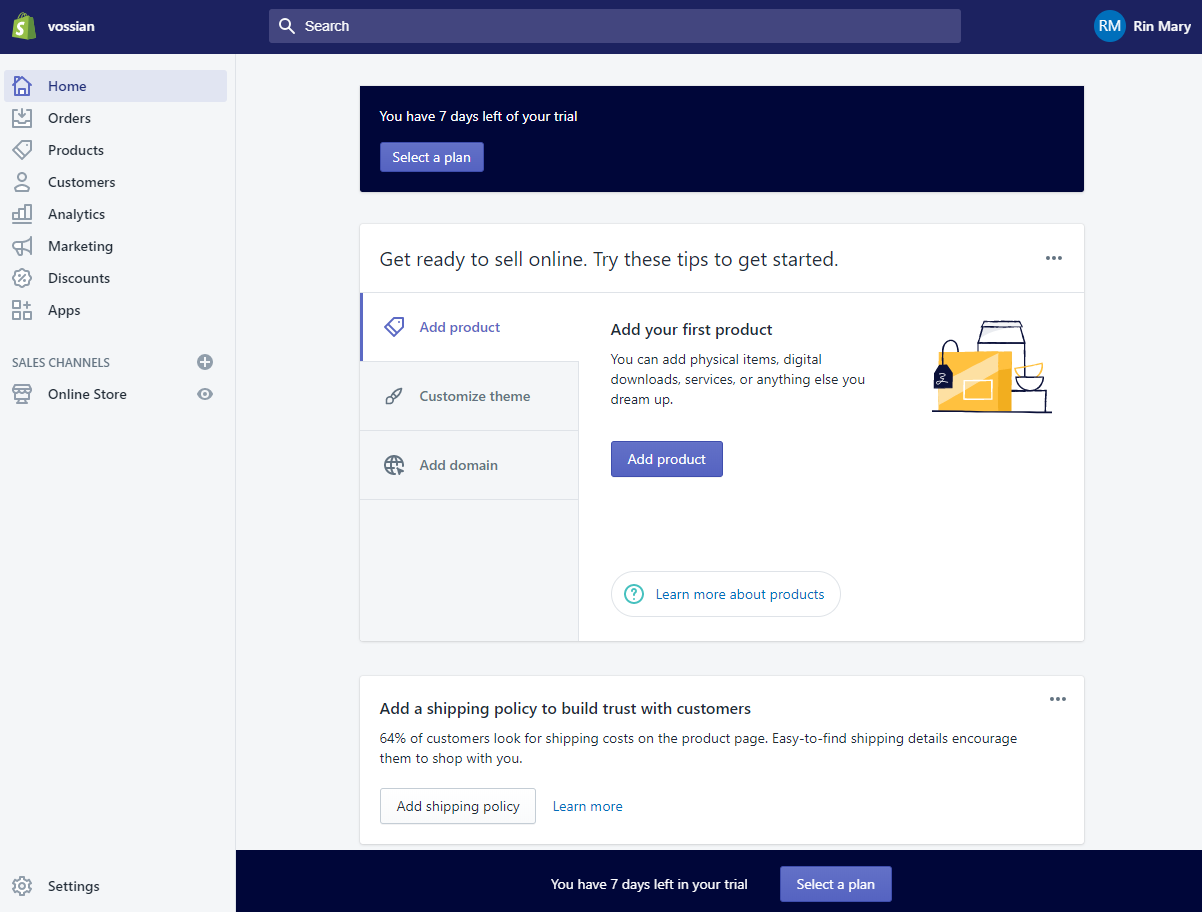
The subscription process is completely intuitive and simple. You have to enter your e-mail address, password, and store name. After that, the system will ask you to answer a few questions. That’s all – you don’t have to install anything, and your shop will open in the browser. It will look like this:
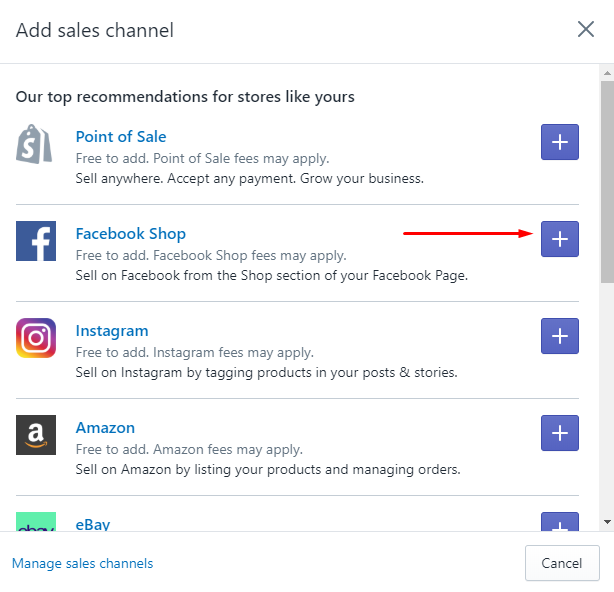
Now you have to add an additional Facebook Shopify channel. Click the “+” button near the “Sales Channels” menu tab and choose to add a Facebook Shop.
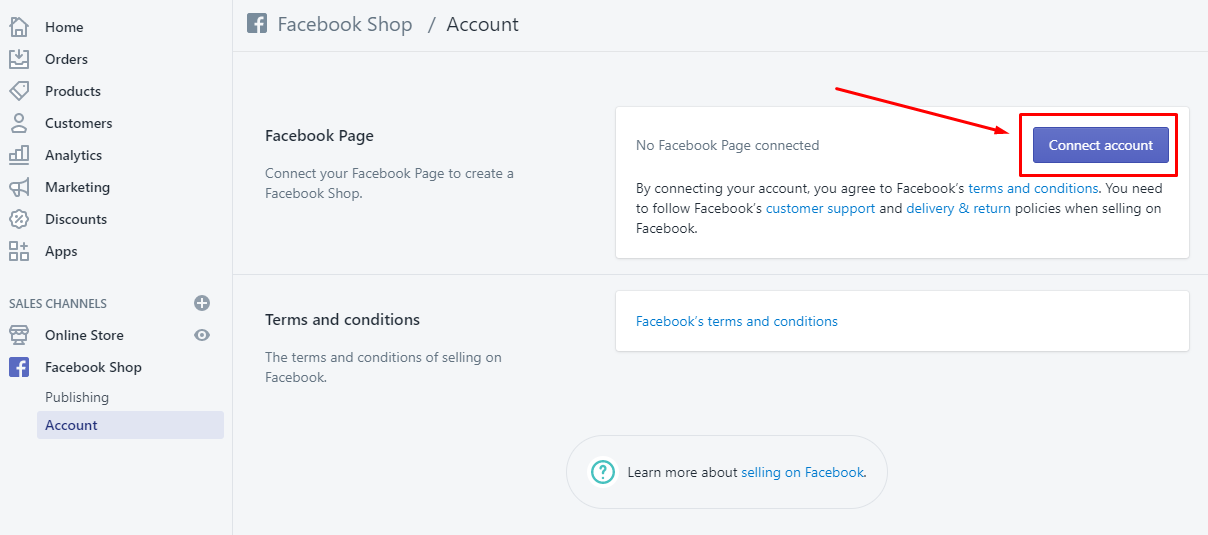
It is now time to connect your Shopify online store to your Facebook account. In the left menu of the dashboard, choose Facebook > Account and click on the “Connect Account” button.
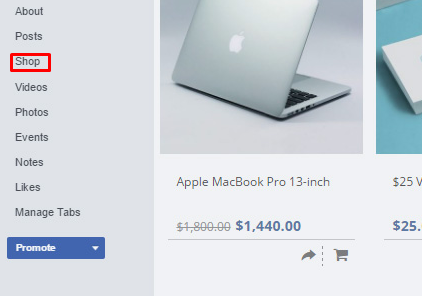
The system will ask you to log in to your Facebook page and define the permissions for managing the content you want to offer on your online shop. From the drop-down list, choose the group or page you want to add to the shop, read the Terms and Conditions document, and click on the “Accept” button. When you will open your Facebook page, the “Shop” tag will already be there.
However, this is not the end yet. It’s time to publish your store, so turn to the dashboard and click Facebook > Publishing. You won’t be able to activate the store unless you enter the billing details, so click on the “Select a plan” button, choose the “Lite” plan, and enter the billing data. Don’t worry, the payment won’t be charged until after the trial period comes to an end.
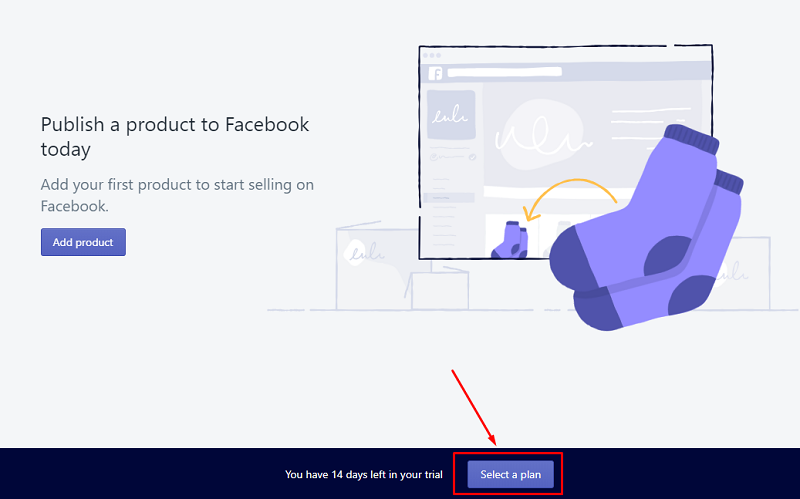
Right after Shopify verifies the billing data, your store will be published and become visible to visitors. It’s about time to add some products to your shop. Click on the “Add product” button and the product adding form will open. It is fairly simple and 100% intuitive.

You will have to add a title, a description, product images, pricing, inventory, and shipping for each item. Additional menus to the right allow you to add some sorting options, like product type, vendor, collection, and a fistful of tags. When you do that and click on the “Save” button, it will be added to your Facebook shop. If you already created a store on Shopify, you can add products either one by one or by entire collections.
I hope this article is useful to you.
Source: Monsters Post