How To Manage All Returns, Exchange, And Refunds Orders On Your Shopify Store

In today’s competitive e-commerce landscape, providing a seamless and efficient return, exchange, and refund process for customers is crucial for building trust and loyalty. Managing these requests manually can be time-consuming and overwhelming, but with the right tools, it can be streamlined into an effortless process. That’s where Return Prime: Order Return app comes in – a comprehensive solution that allows you to manage all your returns, exchanges, and refunds in one place. With Return Prime, your customers can initiate a return or exchange request on their own, reducing the support queries that come your way. Additionally, you can send return labels, offer store returns, issue refunds via store credit, and automate the entire process for more efficient management. Follow this article to get step-by-step guidance on integrating this app into your store.
To operate this feature, you need to complete the following setup steps:
1. Set your store policy
Define the returns/exchange window, enable exchange with any product, and a lot more to provide a seamless experience to your customers without compromising your business interests. In this store policy section, you have to set up the following items:
- Return/Exchange Window: Set the number of days up to which customers can return/exchange the order.
- No Returns/Exchange Period: Running a sale and do not want to accept any returns or exchanges for products sold during that period? Just set the date or the tags used on such items.
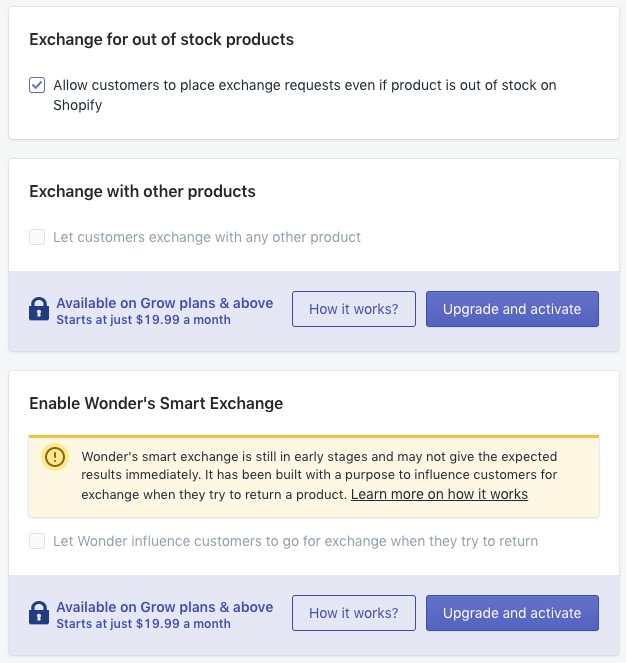
- Exchange Rules: Configure the exchange settings in a way that is convenient for both customers and your businesses. You can allow customers to place exchange requests even if the product is out of stock on Shopify or let customers exchange it with any other product (available on Grow plans).
- Return multiple items: Let your customers return multiple items of an order at once. Once enabled, this app will let the customers choose multiple items and return all of them in a single attempt.
- Return fee: Set a return fee for customers and it will automatically be deducted from their refund amount.
- Click the Save button in the bottom right corner of the screen after completing the settings
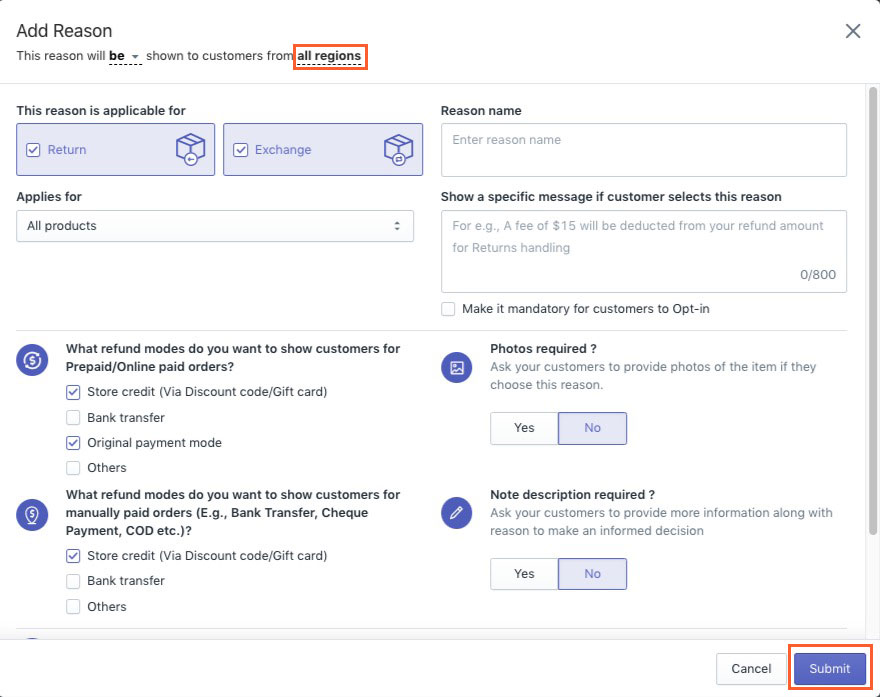
2. Create Reasons (Return and exchange reasons)
- Getting the correct answer starts with asking the right questions. Create reasons which can help you get deeper insights into why customers are returning the products and based on their reason to return, offer them the correct refund options like Store Credit, Card, Bank Transfer, etc. Note: you can set it up for all regions or individual countries.
- Set up all the entries according to your own set of reasons for your policy, and complete them by clicking the Submit button.
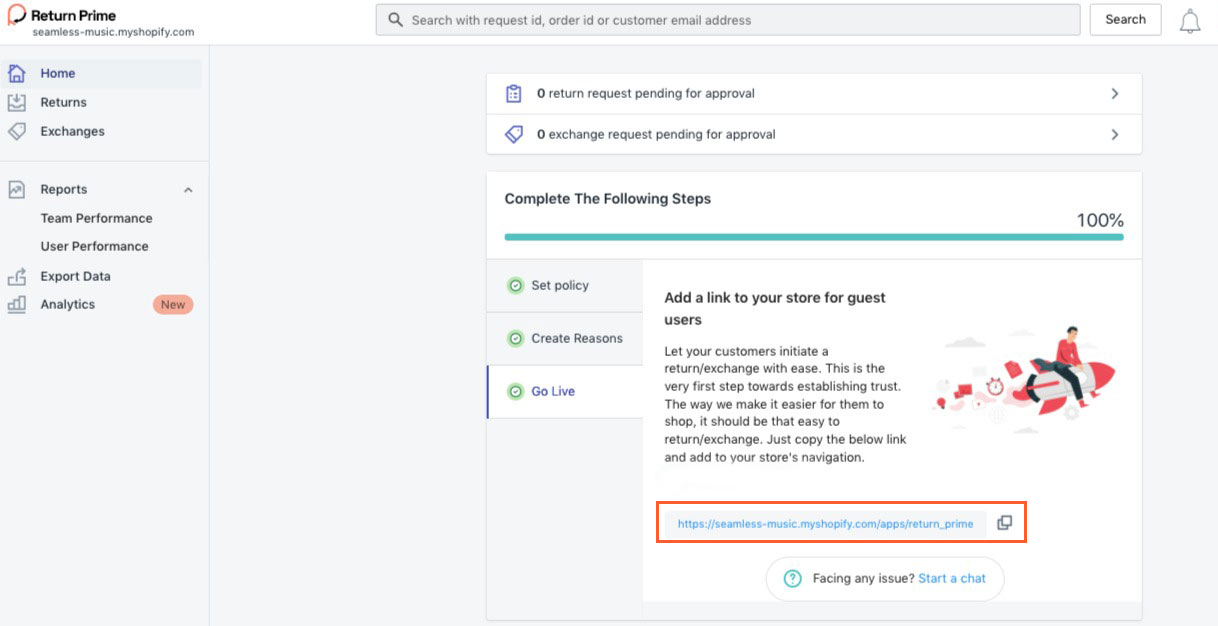
3. Go Live
- Add a button on customers’ order history page: Let your customers return/exchange right from their order history page. Click the Enable button on the Homepage of this app to automatically add the option.
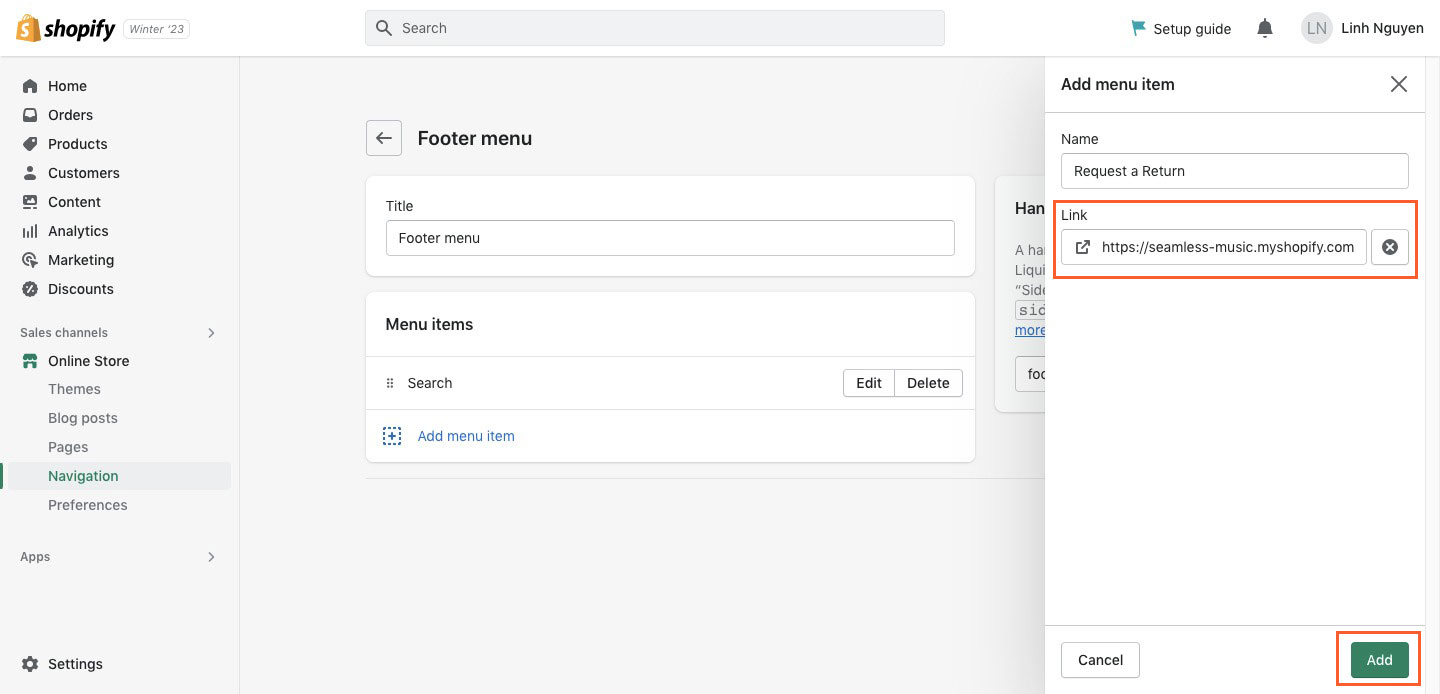
- Add a link to your store for guest users: Let your customers initiate a return/exchange with ease. This is the very first step towards establishing trust. This is the way that makes it easier for them to shop, it should be that easy to return/exchange. Just copy the below link and add it to your store’s navigation.
- Log in to your Shopify Admin dashboard. Go to Online Store > Navigation > Add this link to the location you want to show (For example the Footer as shown in the picture) > Add
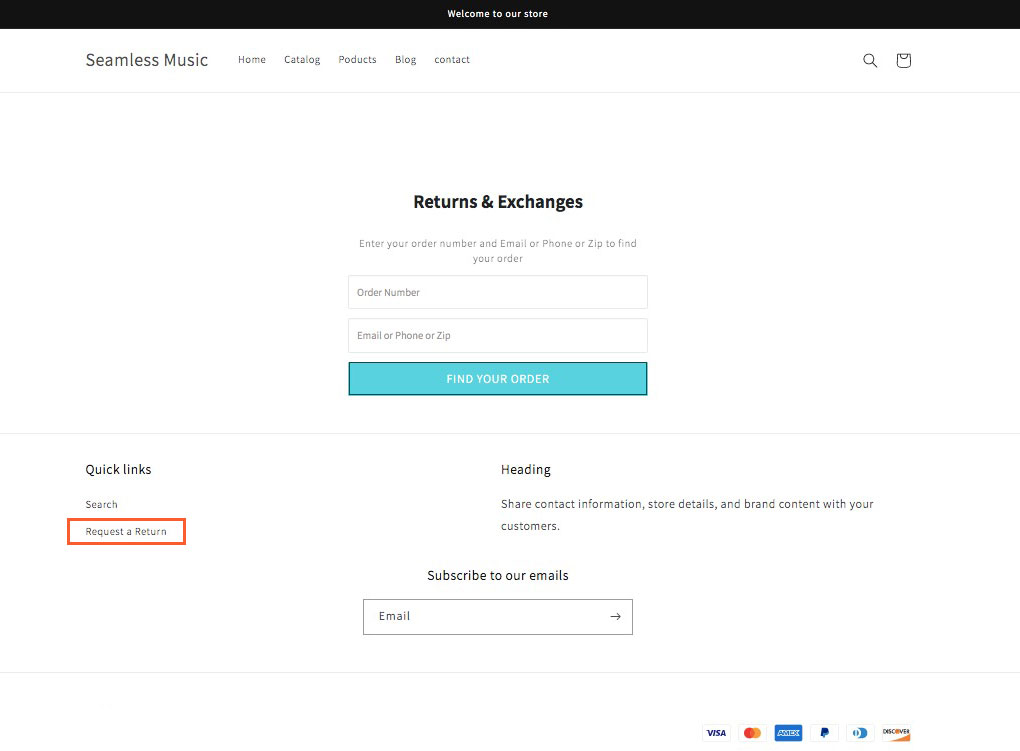
- You are done. The Request A Return will be displayed on your store.
Hope this application will be useful for you. You can refer to applications with similar features in the article here: 15+ Best Shopify Returns Process Apps.