How To Create a Brief History of Timelines Page In Shopify

If your website, product, or brand has a long history, chances are you want to recommend it to your website visitors. It can help the business look more trustworthy. A page with a brief history of timelines is what you need.
A brief history of timelines is a display of a list of events in chronological order. It is typically a graphic design showing a long bar labeled with dates paralleling it.
If you have knowledge of HTML and CSS then you can easily create it. If not, don’t worry, this article is for you. This article will guide you on how to create a brief history of timelines page in Shopify.
Follow the steps below to learn how to do that.
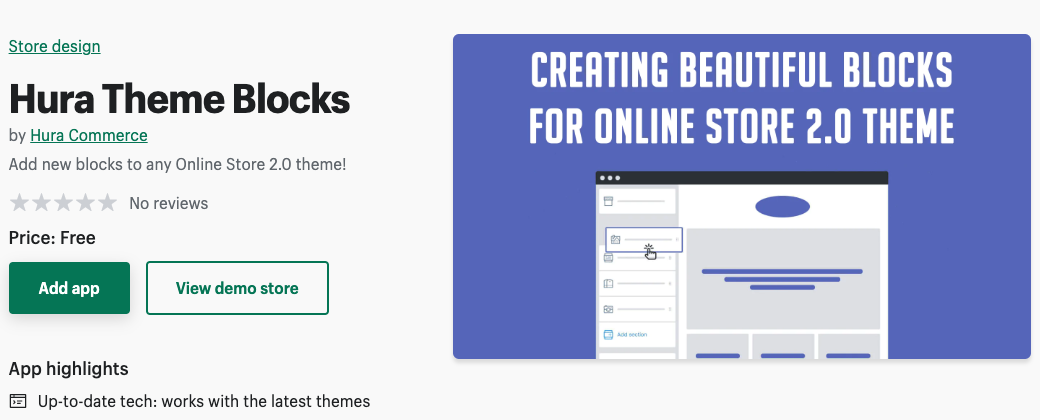
- Go to Shopify App Store, find the Hura Theme Blocks app, then install it.
- From your Shopify admin, go to Online Store > Themes
- Find the live theme you want and then click on the Customize

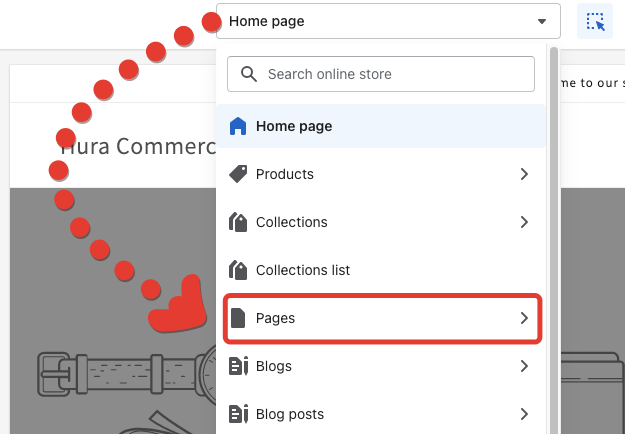
- In the Customize page, let’s choose the Pages.
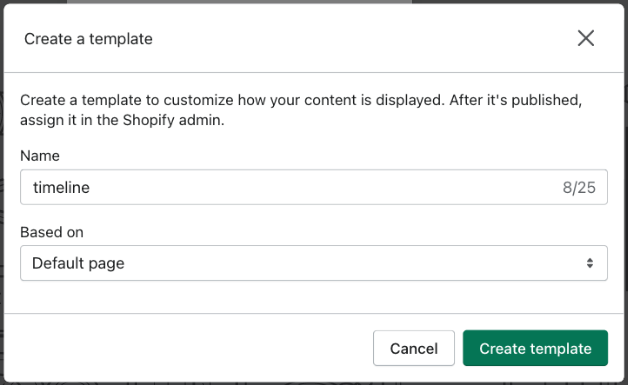
- Choose to Create template to create a new page template

- Set a name for this page template (eg: timeline). Choosing Based on is the Default page. Click on Create template button to submit.
- For the new page template, click on the Add section
- Scroll to the Apps section
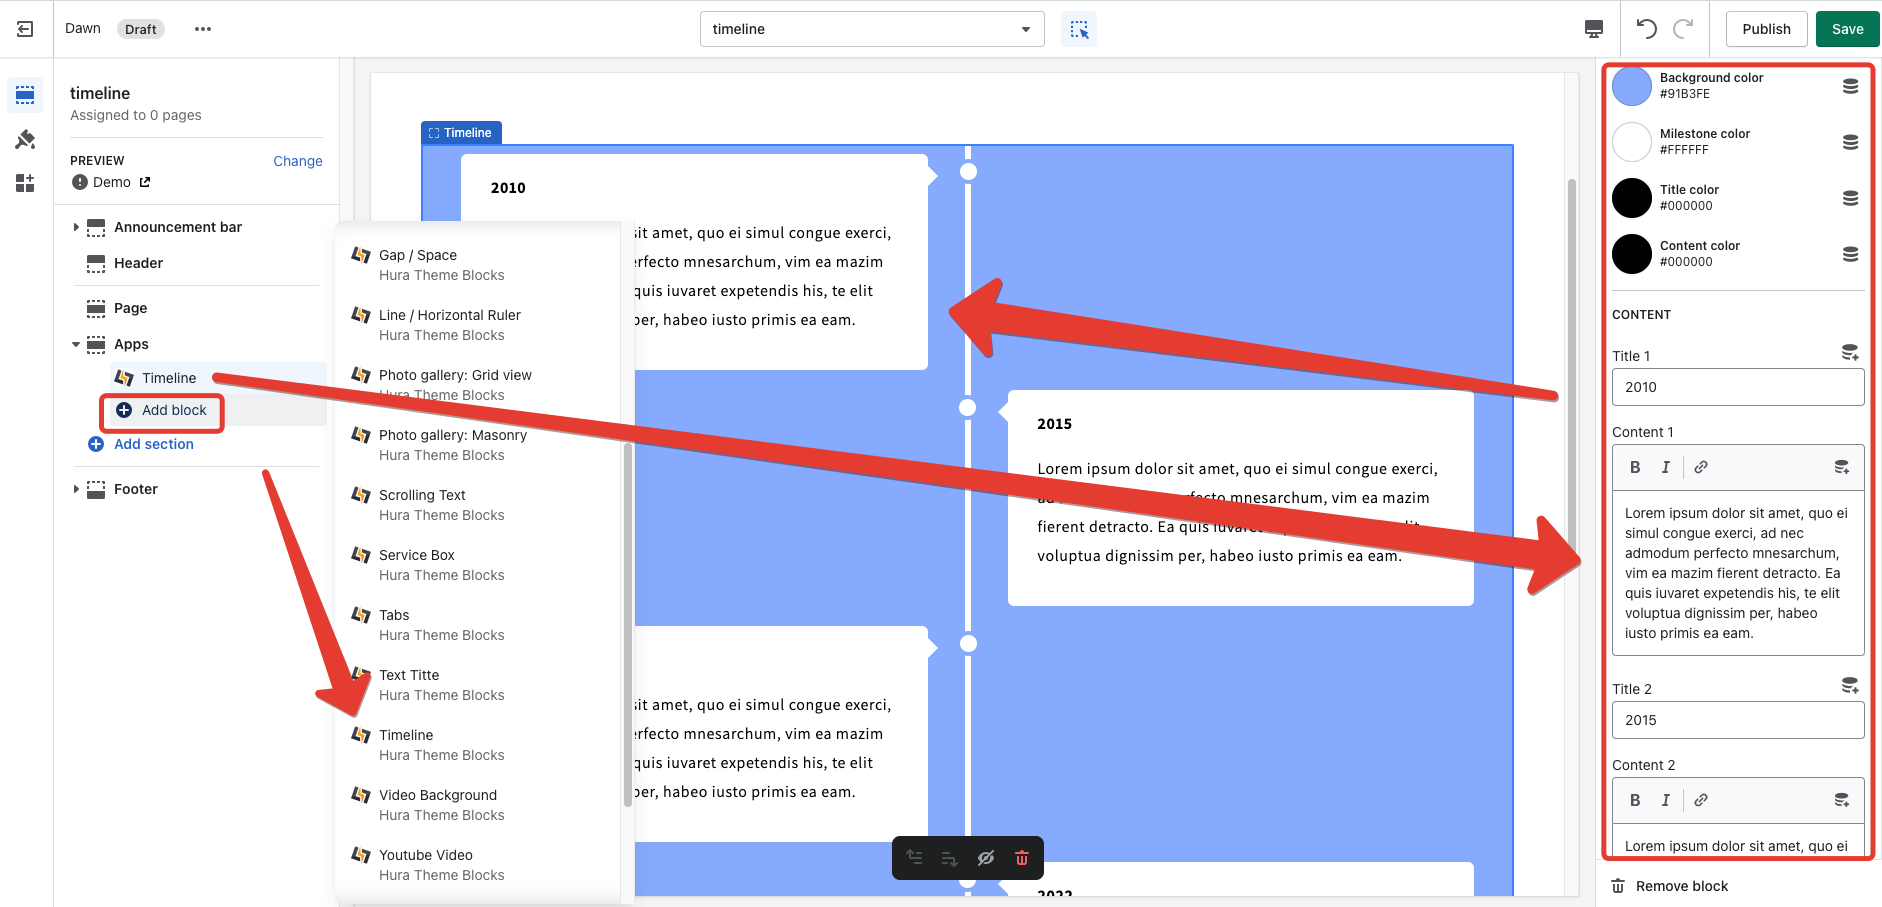
- You should see the all blocks provided by Hura Theme Blocks
- Add a Timeline block, then add the content for your timeline
- Click Save and you have created a timeline page template successfully.
- Go back Online Store and go to Pages
- Create a new page and set the theme template to be the timeline for it.
- Click Save and you are done.
I hope this article is helpful to you.