How To Install AOV Progress Bar On Your Shopify Store

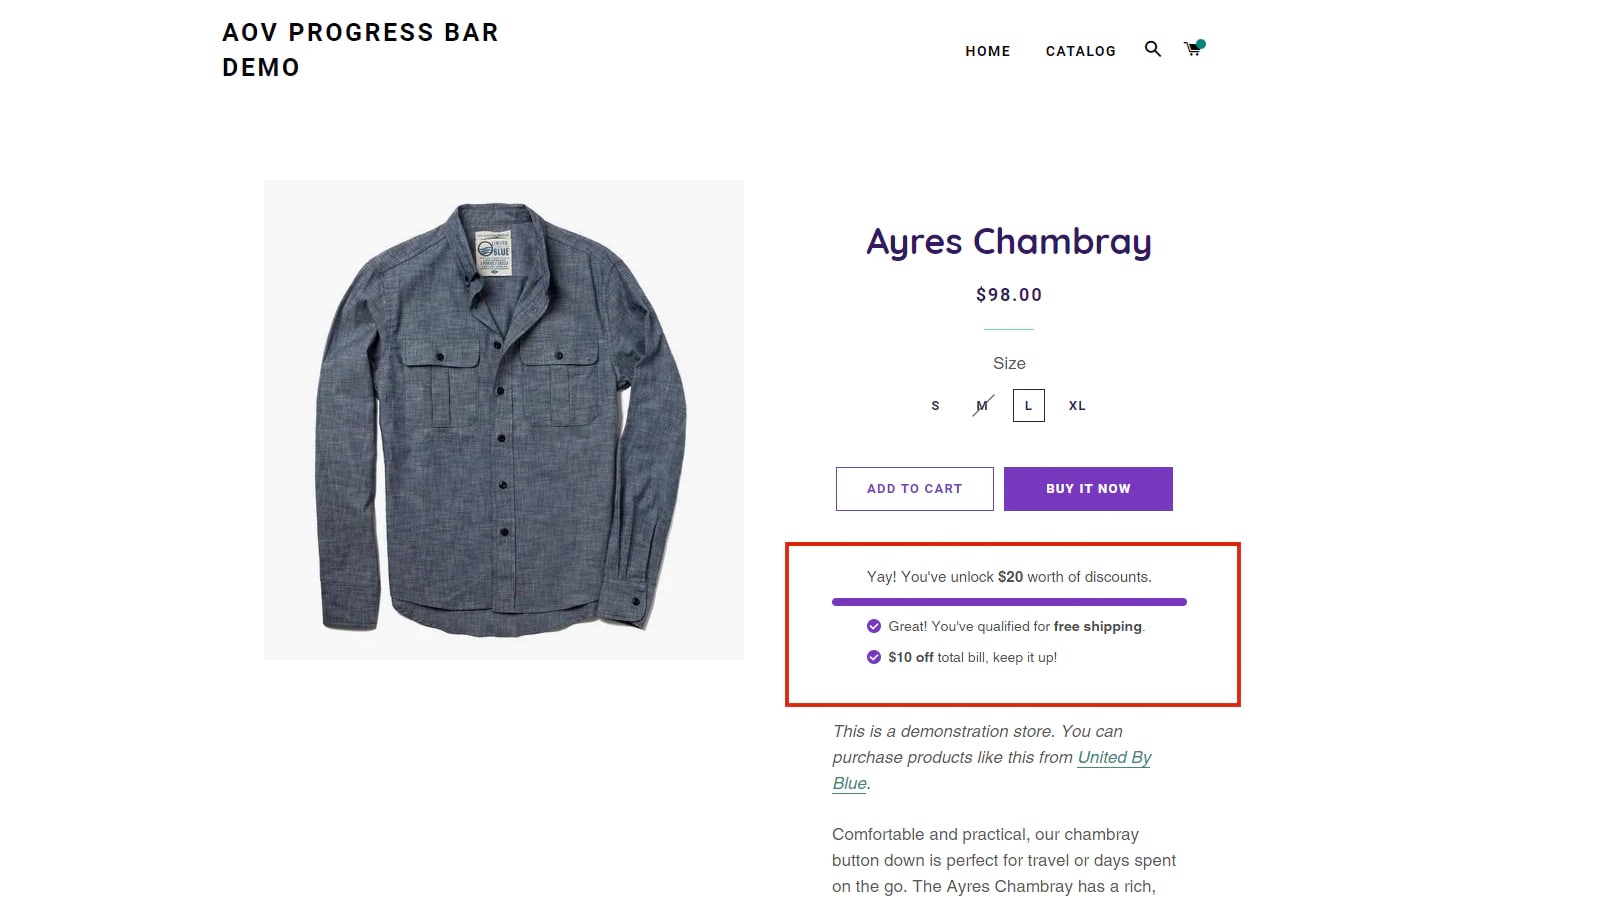
When it comes to increasing your store’s average order value (AOV), there’s no better tool to use than AOV Progress Bar. AOV Progress Bar is an interactive progress bar that changes whenever customers add or remove items from the cart. This motivates customers to subconsciously add more items to their cart in order to qualify for discounts. The key difference between AOV progress bar and the free shipping bar is that the progress bar provides visual indicators to motivate users to add more cart items. So how to install the OnVoard AOV Progress Bar app on your Shopify store? Let’s refer to this article.
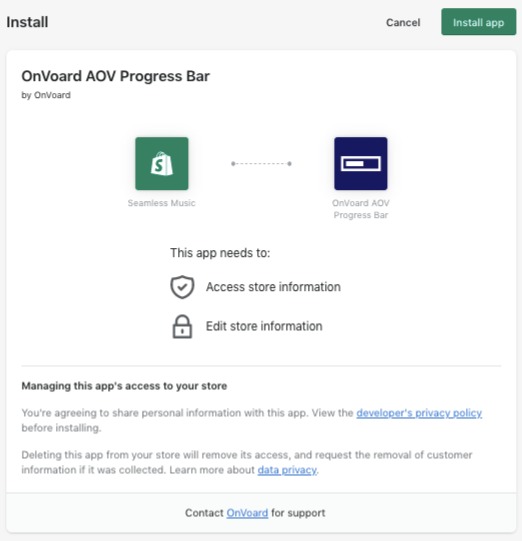
Shopify merchants can use AOV Progress Bar extension by installing the app from the Shopify app store. But first, you need to log in to your account on Shopify Apps Store. Search for the OnVoard AOV Progress Bar app, Add App and Install App.
You have to set the password for your OnVoard account so that you can log in directly the next time. This is the final step before the OnVoard account is ready.
After everything is done, you proceed to adjust and design the Progress Bar according to your own taste and style. The important items that you need to pay attention to set up like:
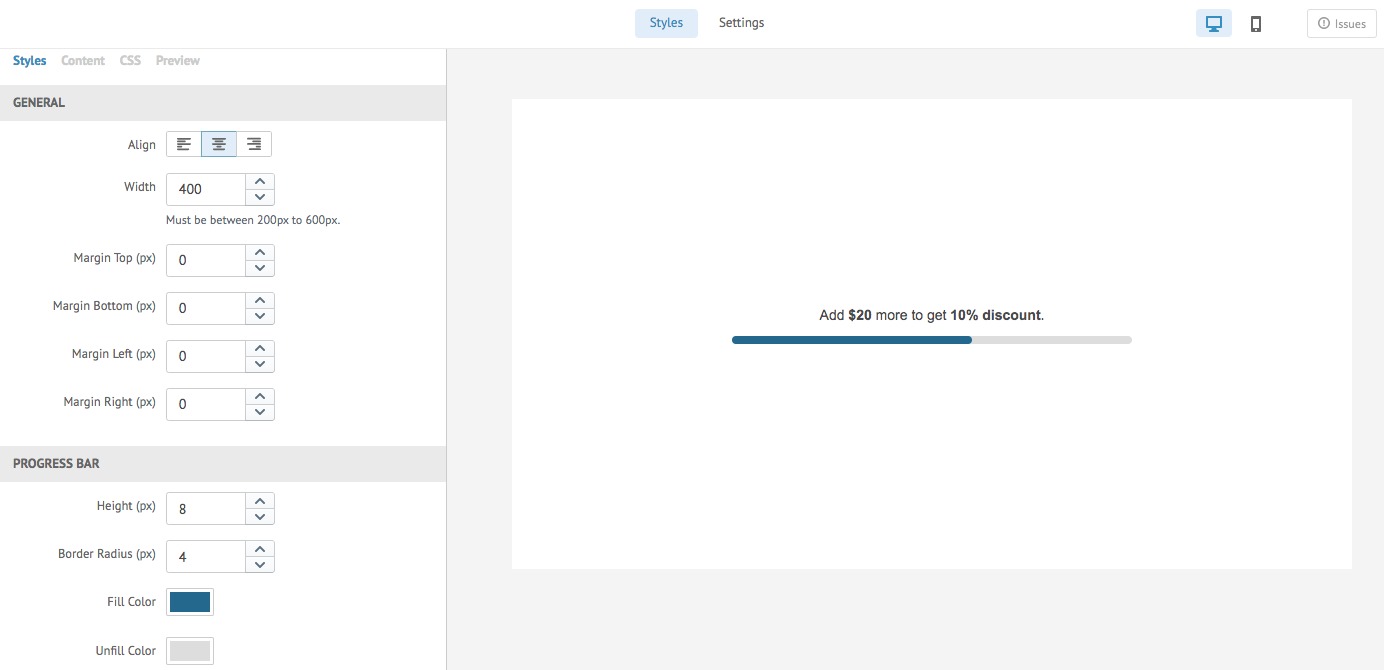
1. Style
You can manually adjust the design of the progress bar as well as the discount style. Besides, you can also add or remove discounts depending on the program that your store is applying. The right side of the screen will be a preview of the content you have just changed. This is quite convenient so that you can immediately make adjustments to the designs that you are not satisfied with.
2. Multi-Tiers Discounting:
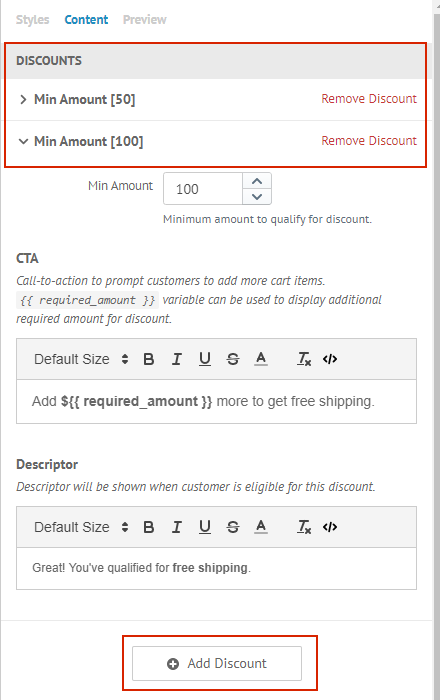
Go to Styles > Content > Discounts to add multi-tiers discounting. This allows you to go beyond offering free shipping to your customers and motivate them to add even more items to unlock more discounts. For example, you can configure discounting in the following manner:
- Free Shipping if Cart Amount is greater than $50
- Additional $10 Off if Cart Amount is greater than $100
One point to note is that discounts are evaluated based on cart amount. This app currently do not support discounting based on other attributes like the number of cart items.
3. Preview Setup
Go to Styles > Preview to configure widget preview.
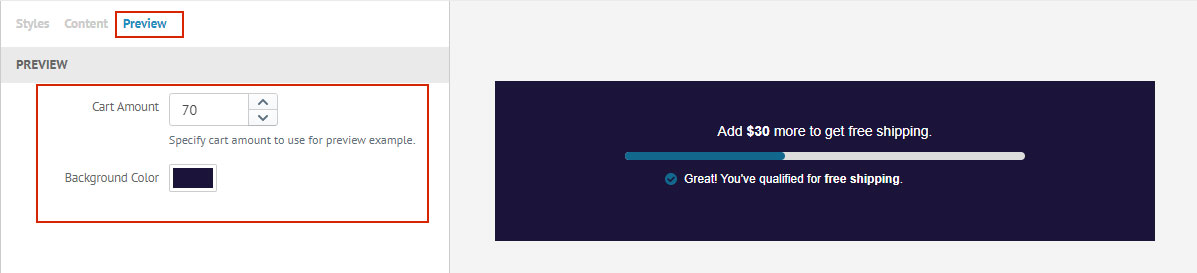
- Change Cart Amount to see how the progress bar changes based on different cart amounts.
- Change Background Color if you need to preview the progress bar with non-visible text color like white.
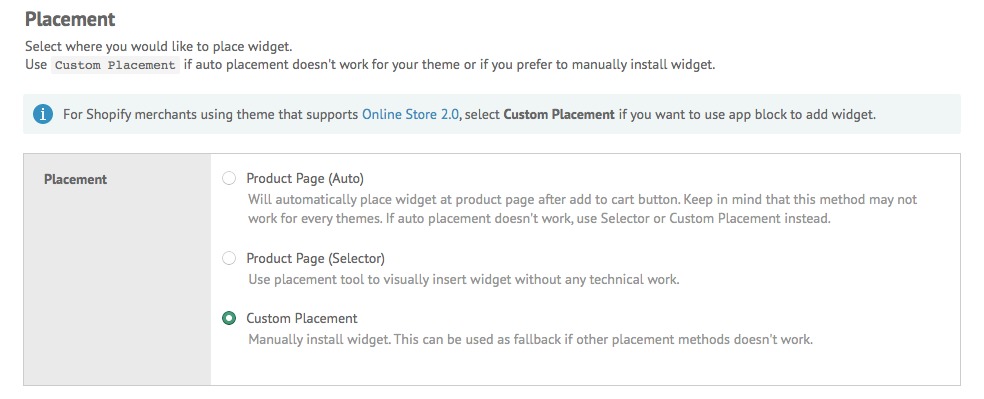
4. Placement Options
- Product Page (Auto) – Will automatically place the widget on the product page after adding to the cart button. Keep in mind that this method may not work for every theme. If auto-placement doesn’t work, use Selector or Custom Placement instead.
- Product Page (Selector) – Use a placement tool to visually insert widgets into your site without any technical work.
- Custom Placement – Manually install widget. Use this as a fallback if all other placement methods don’t work.
In most cases, the system should be able to automatically install the widgets for you (if you’ve opted for auto-placement). For themes that can’t be automatically installed or weren’t correctly installed, you need to use Custom Placement.
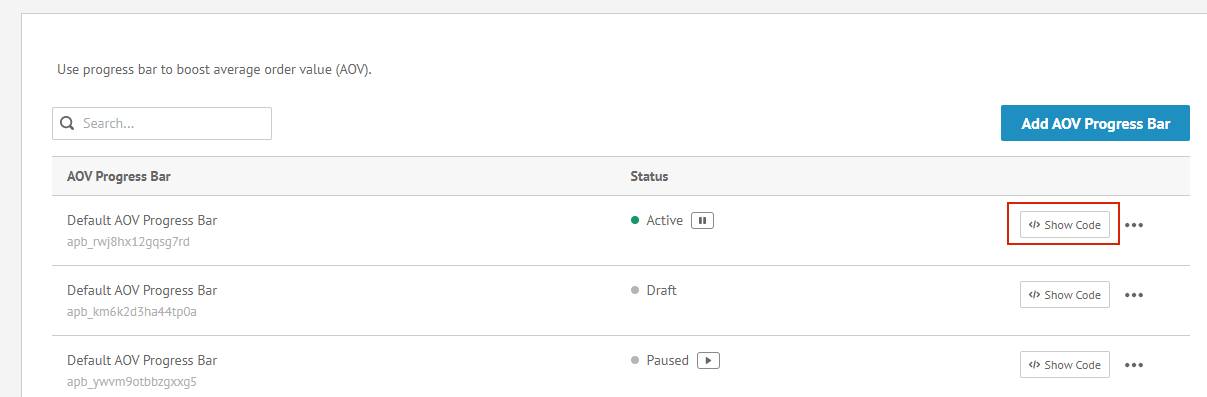
Then select Show Code to view installation instructions. You will then need to manually add code snippets to your site. Select Show Code after saving and follow installation instructions from there. Save to create AOV Progress Bar once everything is ready.